Ok bear with me. I've never done a tutorial on the blog before. You're gonna love this little sewing project. It's easy trust me.
SUPPLIES
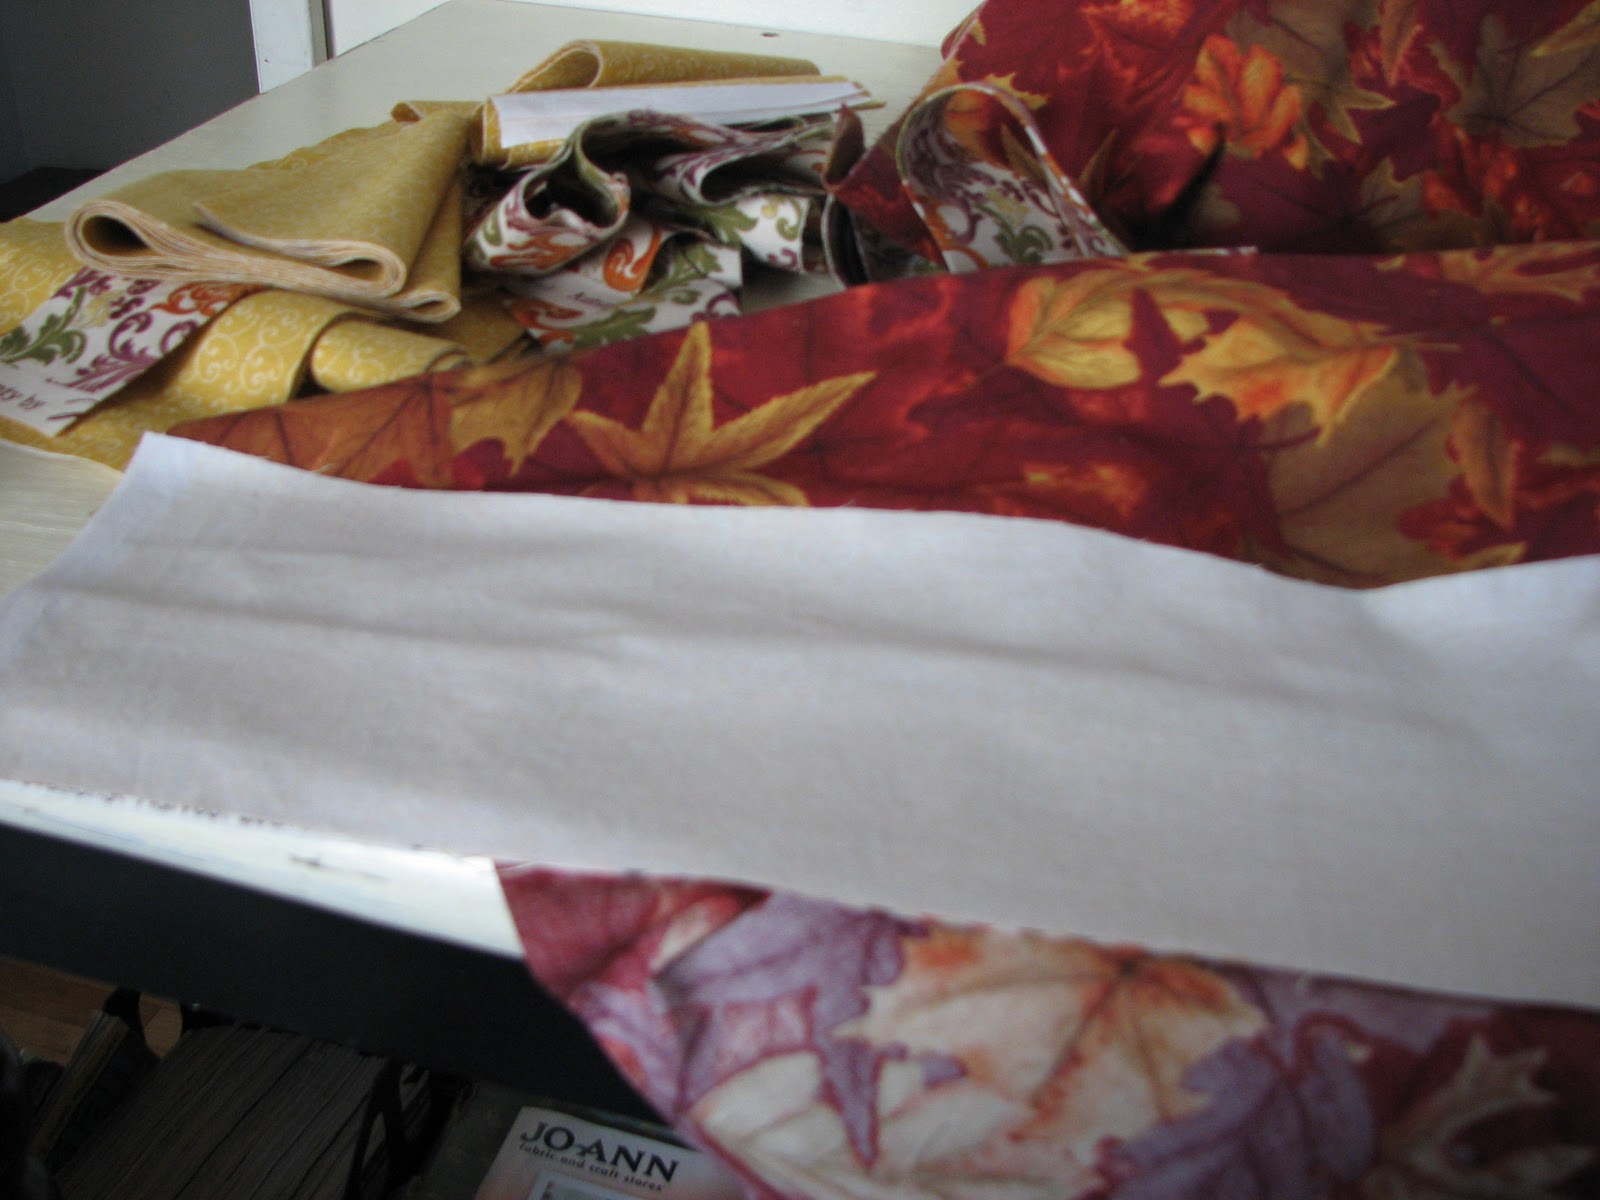
1 yard focus fabric
1/2 yard coordinate for ends
1/4 yard contrast for bands
1. Prewash, press and trim selvages and ends of all fabrics.
2. Cut the 1/2 yard coordinate and 1/4 yard contrast band in half. You need 2 (9") strips and 2 (4.5") strips.
3. Fold the contrast fabric in half longwise, right side out. Press.
4. Open out your focus fabric to single thickness right side up. (* This is where you get to decide whether you want a short, wider runner or a longer, skinner runner. If you want it short make sure you choose the width of fabric as your end, you're fabric will fold selvage to selvage. Skinner you'll do a cross wise fold, your fabric will fold raw edge to raw edge. You'll have to remember which end you cut the selvage off of. Chalk or pin it if you have to so that you remember where you cut off the selvage.) Layer the focus fabric, contrast band with raw edge against the raw edge of focus fabric then place the coordinate right side down, single thickness. Sew using a 1/4" seam. Press - make sure your seam goes towards the main focus fabric. Repeat for other side.


5. Fold right sides together, creating a tube of fabric. Sew using a 1/4" seam. Make sure that you leave an opening to turn right side out. * I like to reinforce my opening by doing a little back stitch on both sides. This keeps the seams from popping. You'll want that hole big enough to stick your hand in.
6. Now fold it so that the seam runs down the center and press that seam open. Make sure you carefully press where the opening is. You want that part to fold too.
7. Now so the ends closed. 1/4" seam, straight across.
8. Pull the fabric to the right side through that opening you made. Make sure your corners are correct and pointy. I used a special tool but anything long and sharp enough to get into the corner will work. Slip stitch that opening closed by hand. Voila! Easy, peasy runner. Press and place on display.
I did this runner in 30 minutes even with taking pictures and trying to figure out in my head what to say. I've already make 3 and have several more I want to do. I see this being a great Christmas gift for the gals at work. Gotta top that
apron I made last year ya know.
So here's my finished projects. Let's see yours!
Linking to
My Romantic Home Show and Tell Friday.
Have a great weekend everyone!
Please let me know if these instructions are understandable. I've taught sewing, quilting, etc. before but never written down my instructions. I'll be very happy to change and edit these if necessary. Thanks!


3 comments:
The runner is beautiful!!
Hey Amanda! First of all, thanks for your sweet comment on our sweet pea! :) She is amazing and we're in love!
Secondly, you did a great job on the tutorial...it can be hard to get across what you're trying to do sometimes, but you did an excellent job and it turned out lovely! :) It feels so good to make something and have it turn out so nice doesn't it!
Hope you have a great weekend my friend!
Missy :)
Love your runner! I really like the combination of fabrics you used -- how nice they look together!
Post a Comment